
The process
A clear path to your smile.
From your first questions to every tray that follows, each step is designed to feel simple and considered.
 Step 01
Step 01
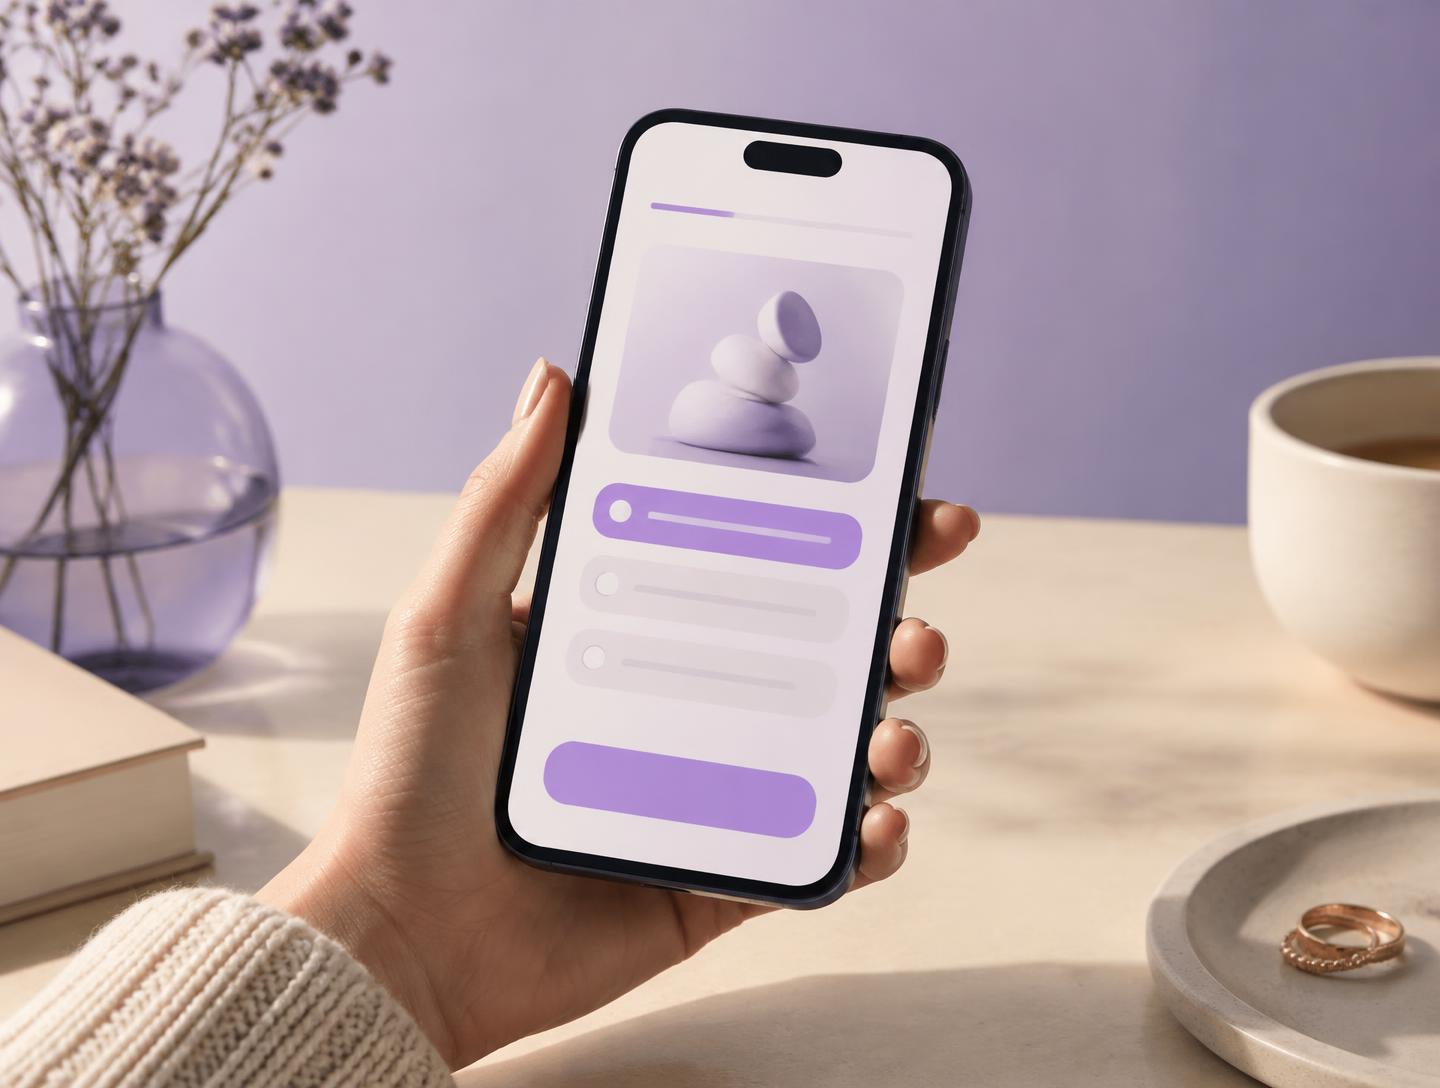
Take Your Smile Assessment
A short preliminary screening that helps us understand your goals. It is guidance, not a diagnosis.
Step 02
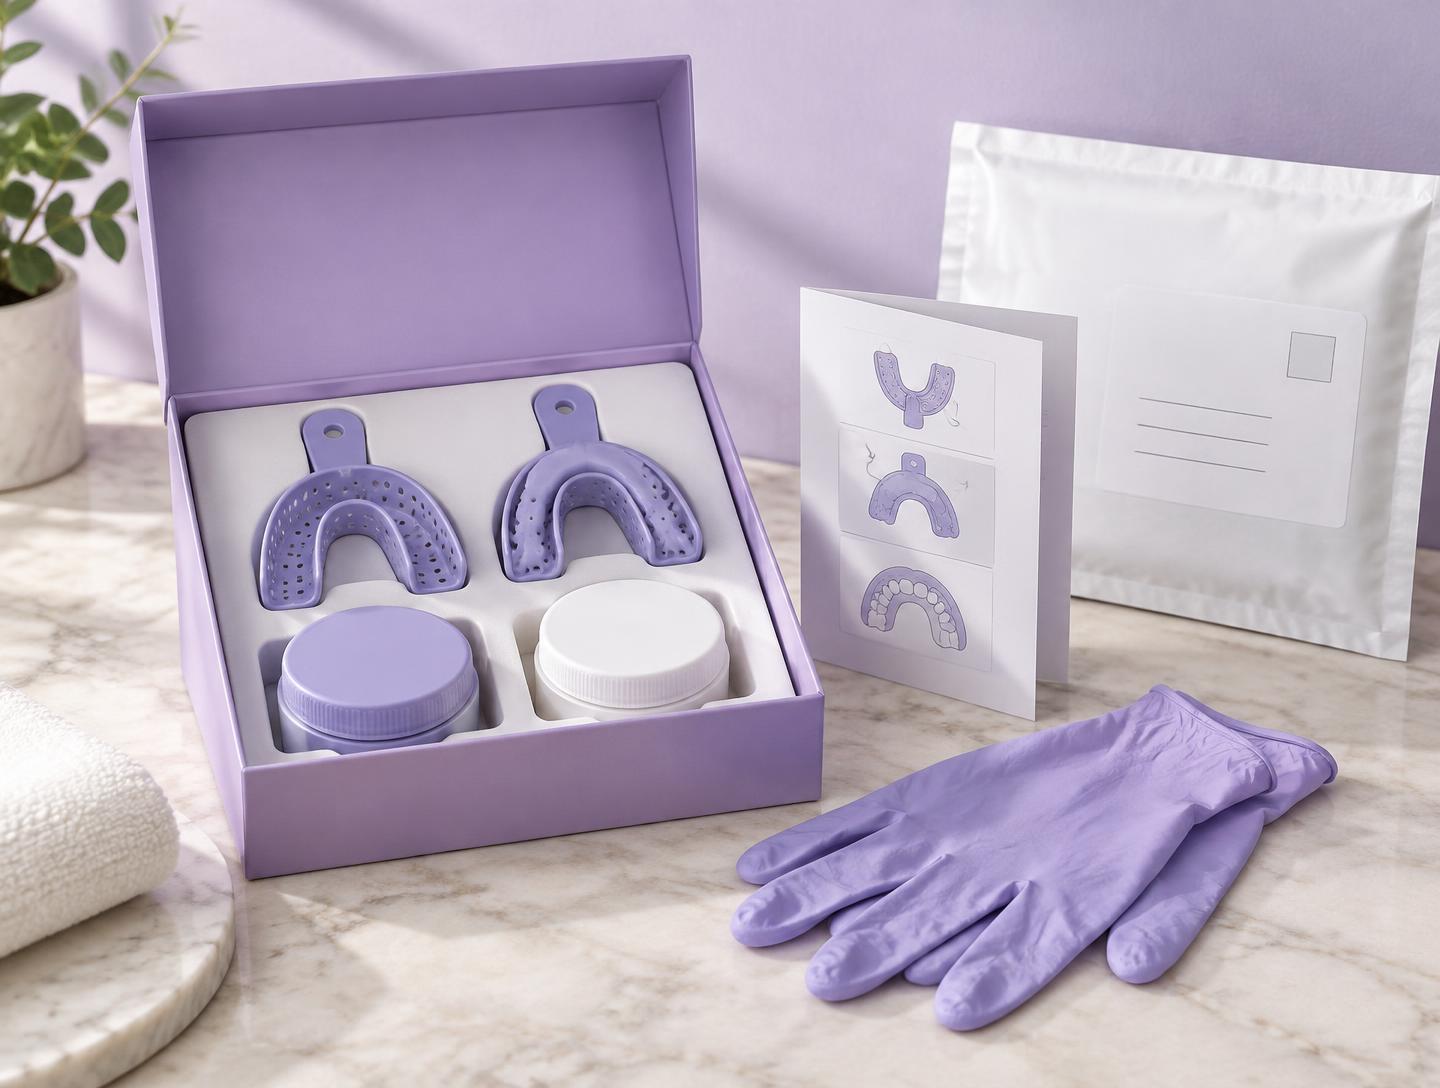
Receive Your Impression Kit
The RizzAlign Impression Kit arrives with trays, putty, gloves, instructions and a return mailer.
Step 03
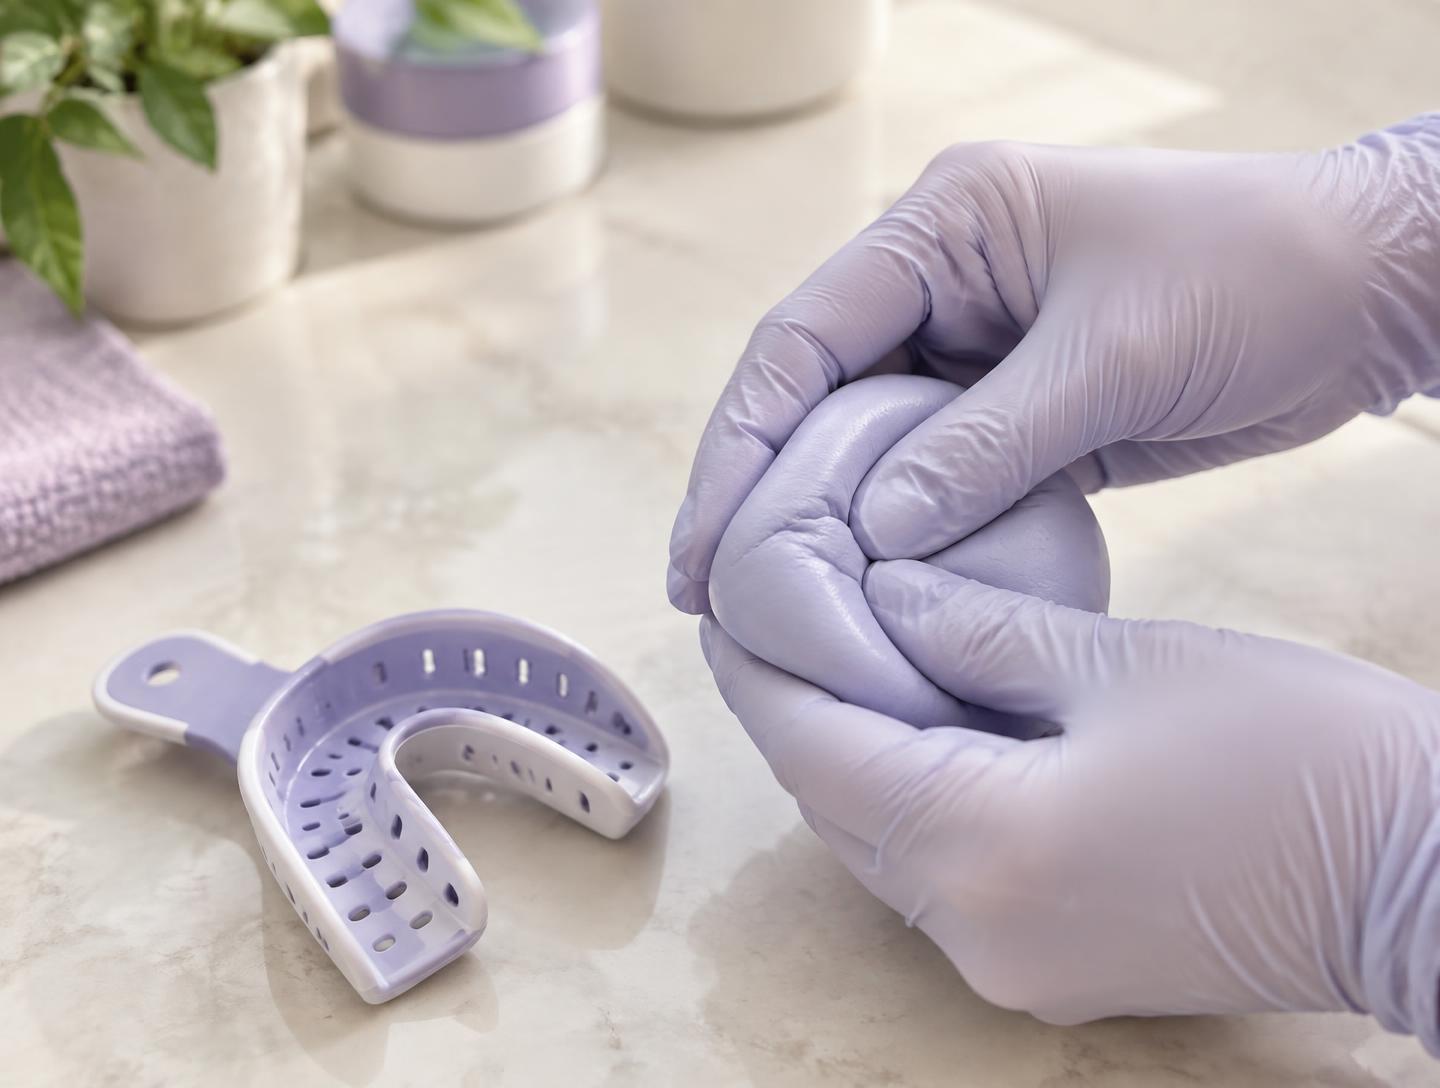
Create Your Impressions
Six calm steps at your kitchen table. Unbox, glove up, mix, fill, impress, return.
Step 04
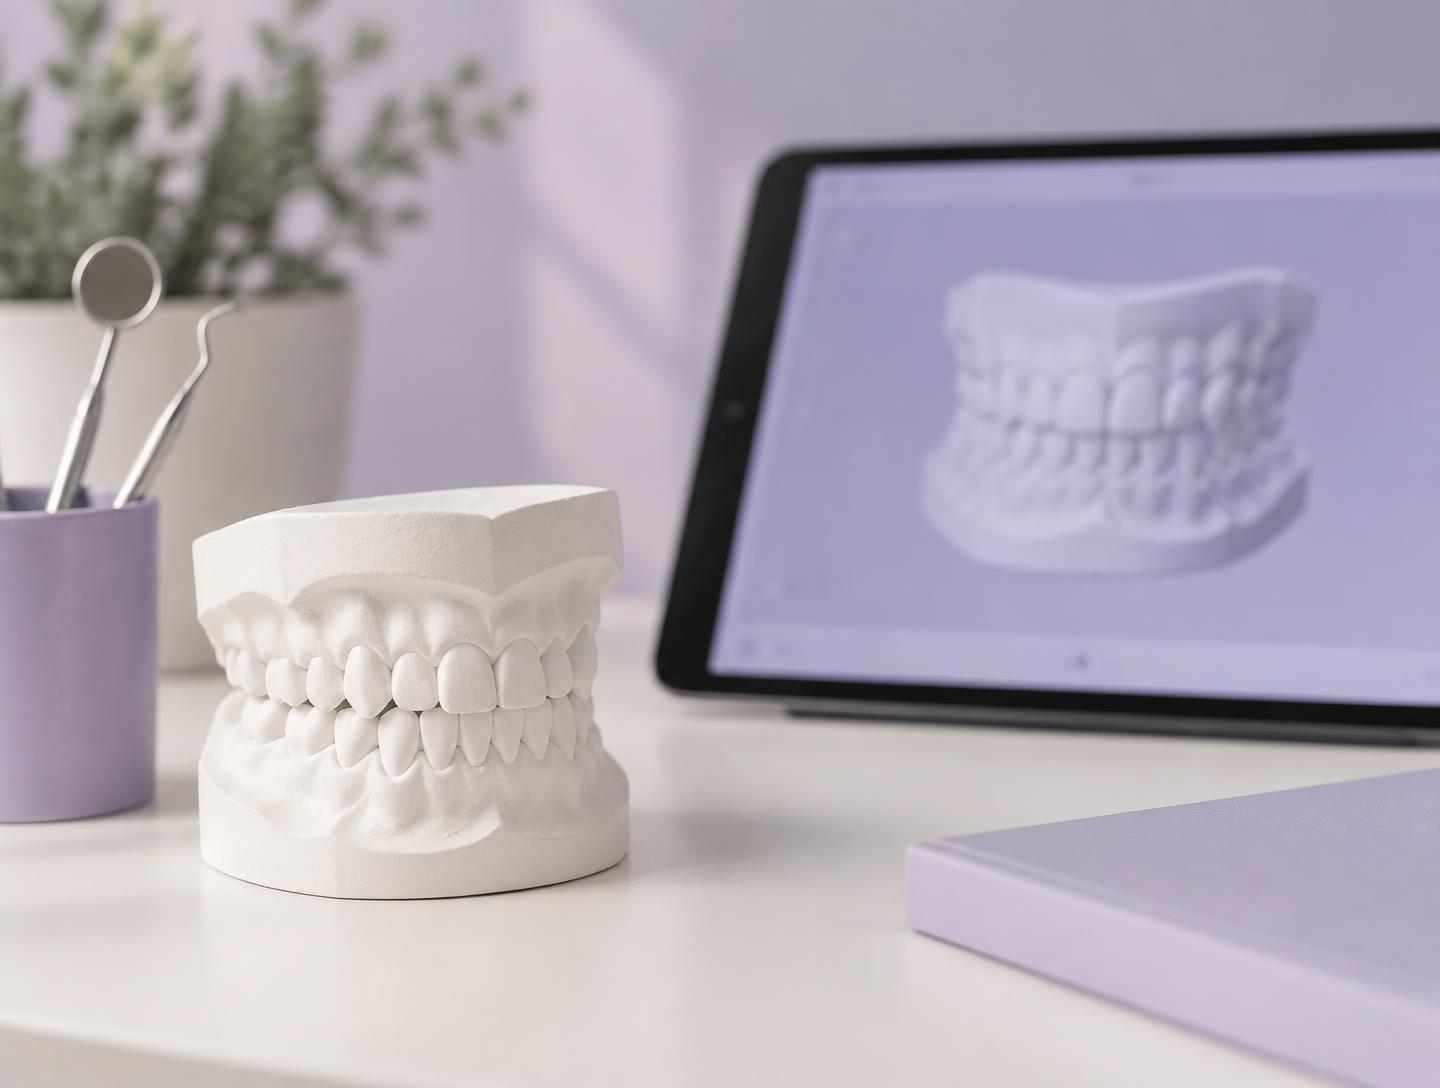
Professional Review
Your impressions, records or scans are reviewed according to the RizzAlign treatment process.
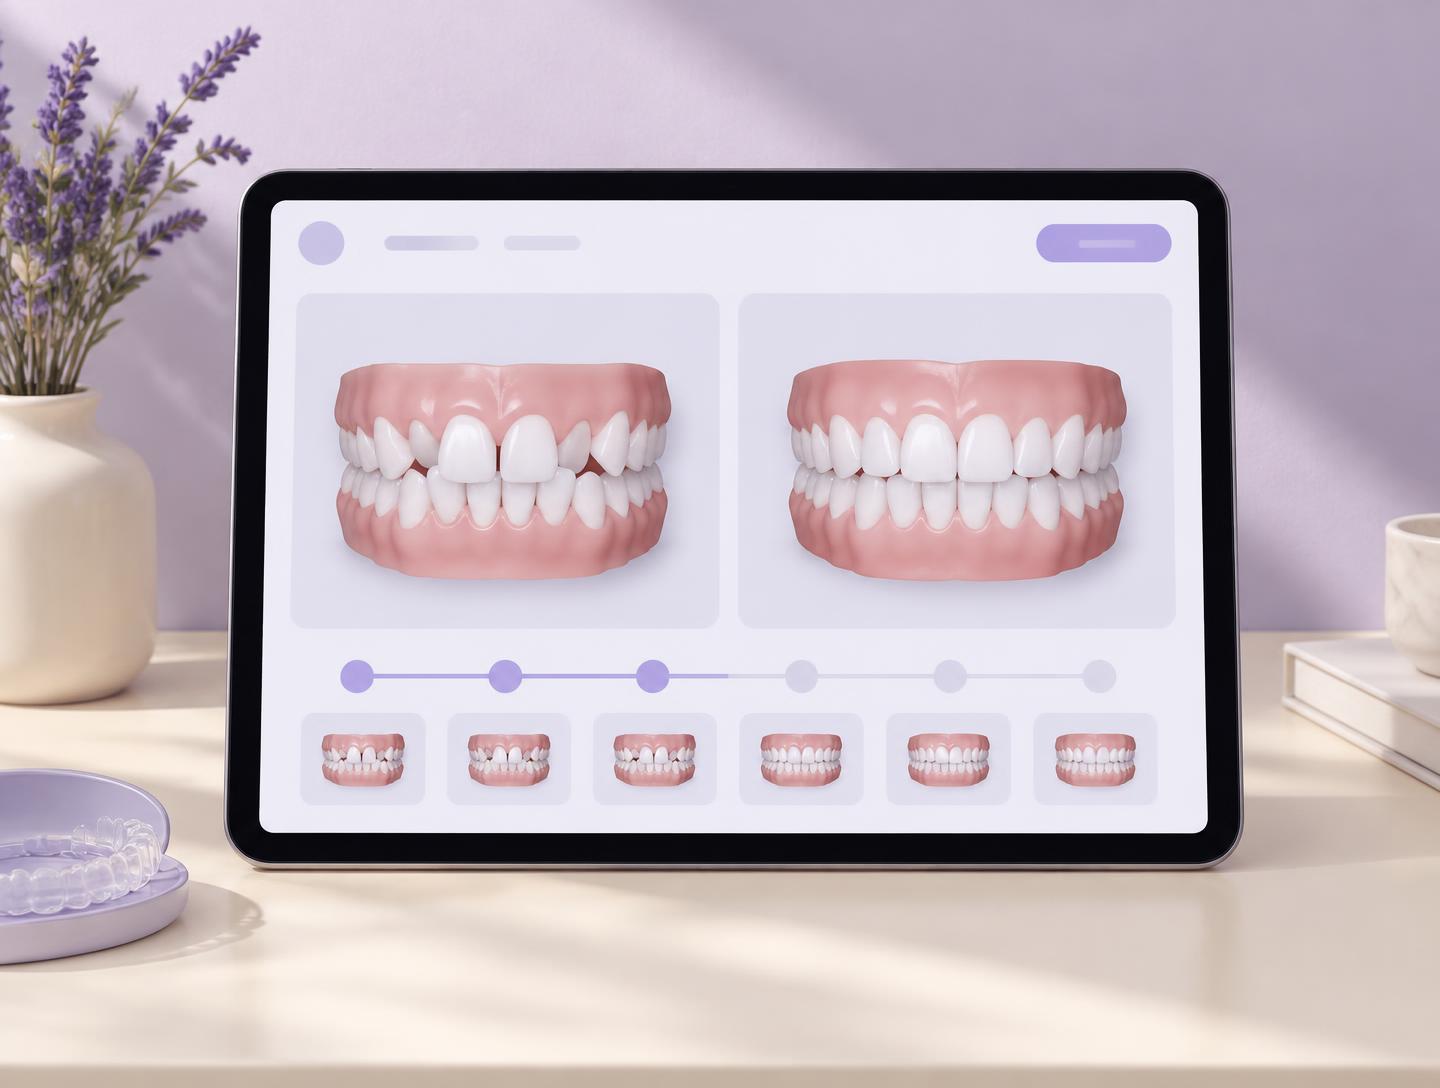
Step 05
Preview Your Smile Plan
Where applicable, review the proposed treatment journey before aligners are manufactured.
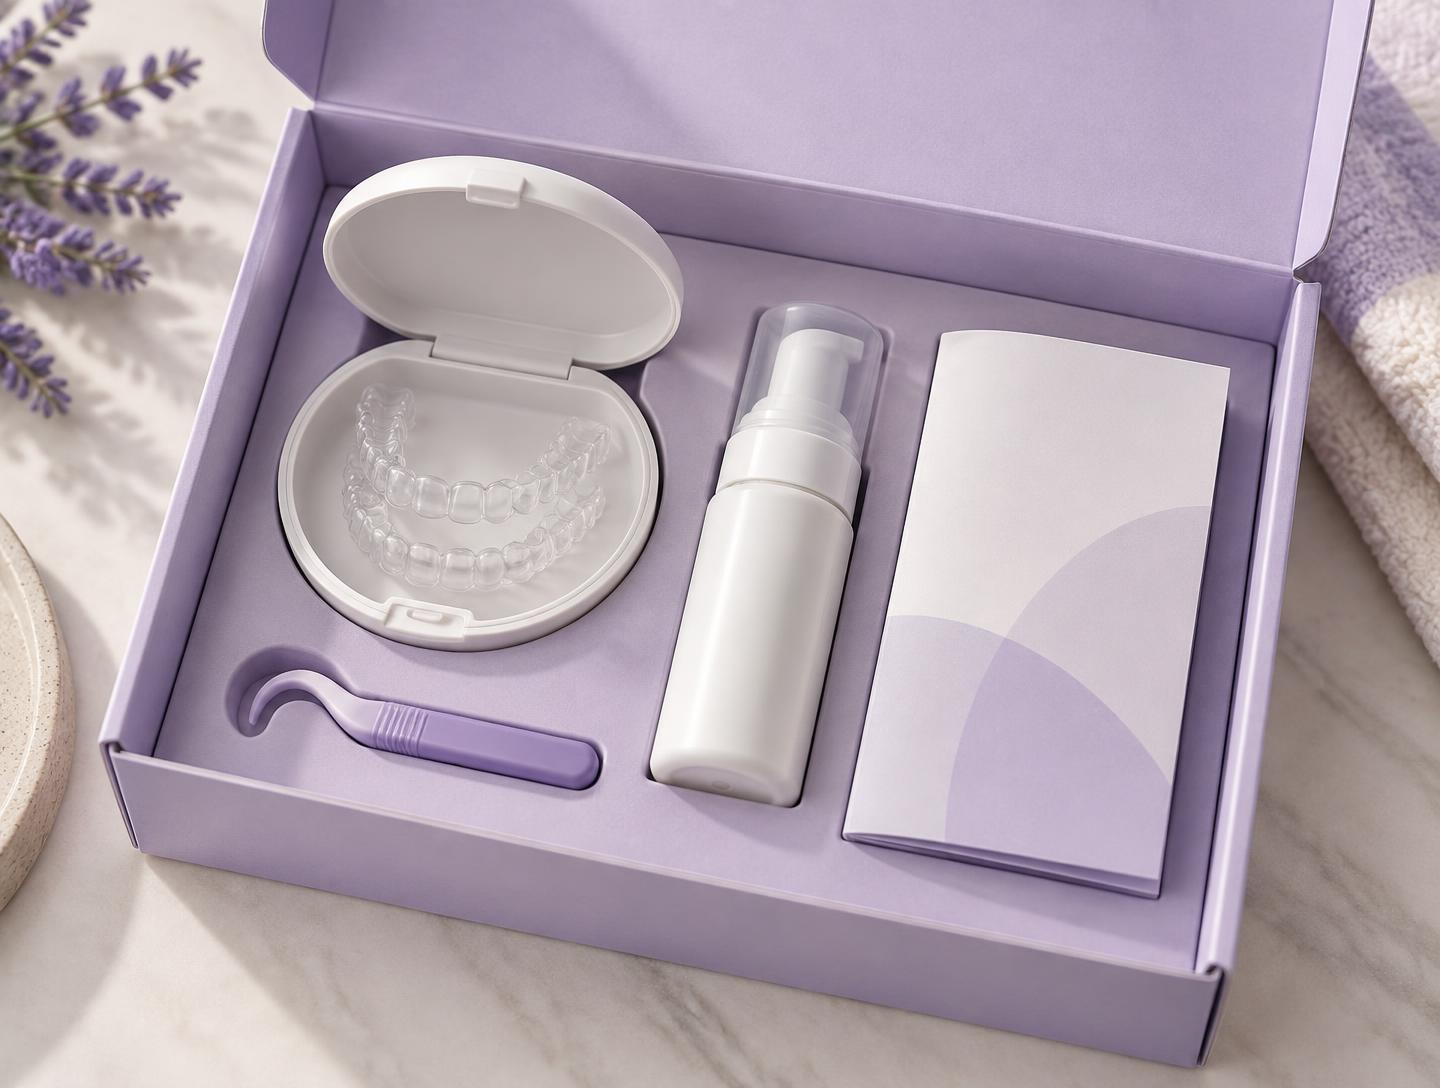
Step 06
Receive Your Aligners
Your welcome kit brings your aligners, carrying case, cleaning foam, hook and care guide.
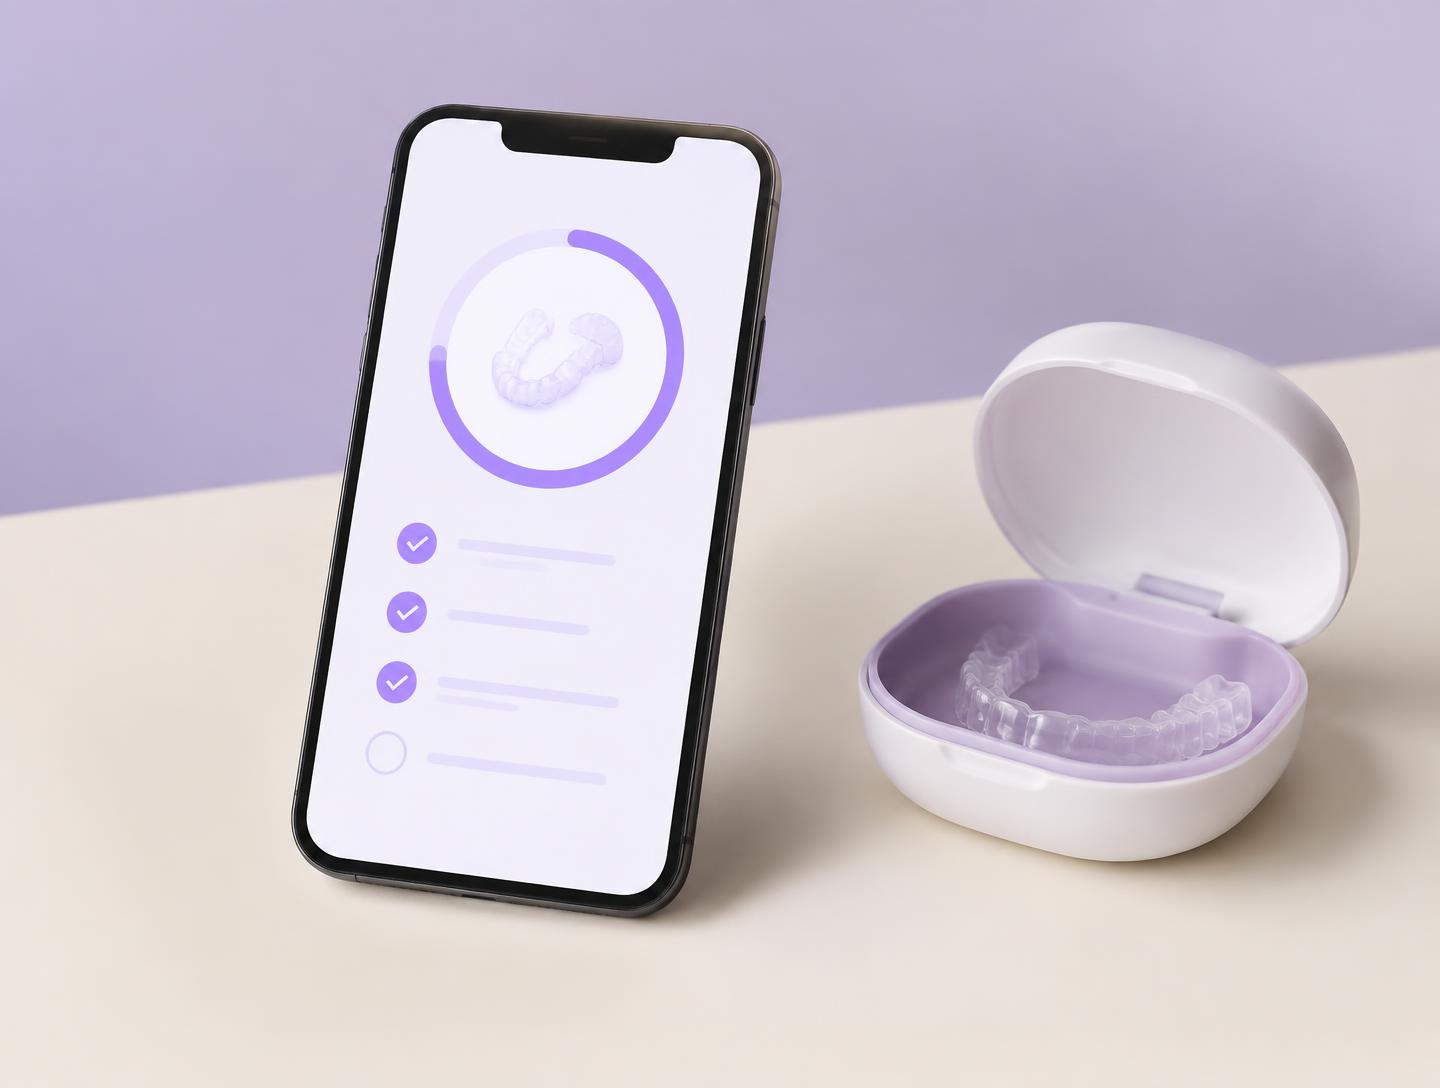
Step 07
Track Your Journey
Follow your current stage, upcoming actions, orders and support from your account.
Taking your impressions
Six Calm Steps at Home.
1. Unbox the kit
Lay every component out on a clean, flat surface.
2. Put on gloves
Included gloves keep the putty clean and easy to handle.
3. Mix the putty
Combine base and catalyst until the colour is completely even.
4. Fill the trays
Press the putty evenly along the tray channel.
5. Take impressions
Seat the tray, hold steady, then release gently.
6. Package and return
Seal your impressions and send them back in the prepaid mailer.
Good to know
Common Questions.
Start with the Smile Assessment. It gives you general guidance on your possible next step. Suitability is only determined after professional review of your dental records, impressions, scans, and/or other relevant information.
Smile assessment
Could RizzAlign Be Right for Your Smile?
Take our quick assessment to learn what your next step could be.